Hello there 🐐 I am currently working on a small project and needed to experiment with different map sizes and shapes. I took this opportunity to learn more about how maps can be procedurally generated in 3D.
** In this blog post I will show you how to procedurally create maps in Godot using Grid Maps. **

I also felt like I struggled a bit with creating and optimizing the code and I took this as a perfect opportunity to give back to the community :)
👉Get the latest version of the code here
Prerequisites
For this tutorial we will be using a 3D model of a hexagon that I’ve borrowed from Jmbiv’s tutorial.
Alternatively, you can also scour the web for other 3D models and resize them to 1mm height and ~1.74mm width.
As long as you don’t want to sell your game and don’t want to build the 3D models yourself, I suggest also looking over MagHex Tiles for Gloomhaven which you can download and resize for your game.
Setting up your scene
In this part you can follow my steps from the gifs in order to setup you scene with everything you need and then we can go over the nitty-gritty of the code.
If for some God forbidden reason the website doesn’t load the gifs for you, ping me with your browser type in the comments and follow the gifs posted on the repo.
Note - You will see in the gifs that the first key I press is F7, which I use for starting the recordings. You will not need to press F7 when tracing my steps.
Step 1 - The Main Node
We will need to create a main node to which we will attach the other components and which will be displayed when running the game.

Step 2 - The Main Camera
You see that nice blue horizon line in the background?
If we run the game as it is, we won’t be able to see it without a camera.

Step 3 - The Mesh Library
In this approach of procedurally generating maps, we will be using GridMaps.
In order to take full advantage of them, we will transform our 3D object into a Mesh Library, such that we can later import it inside the GridMap.
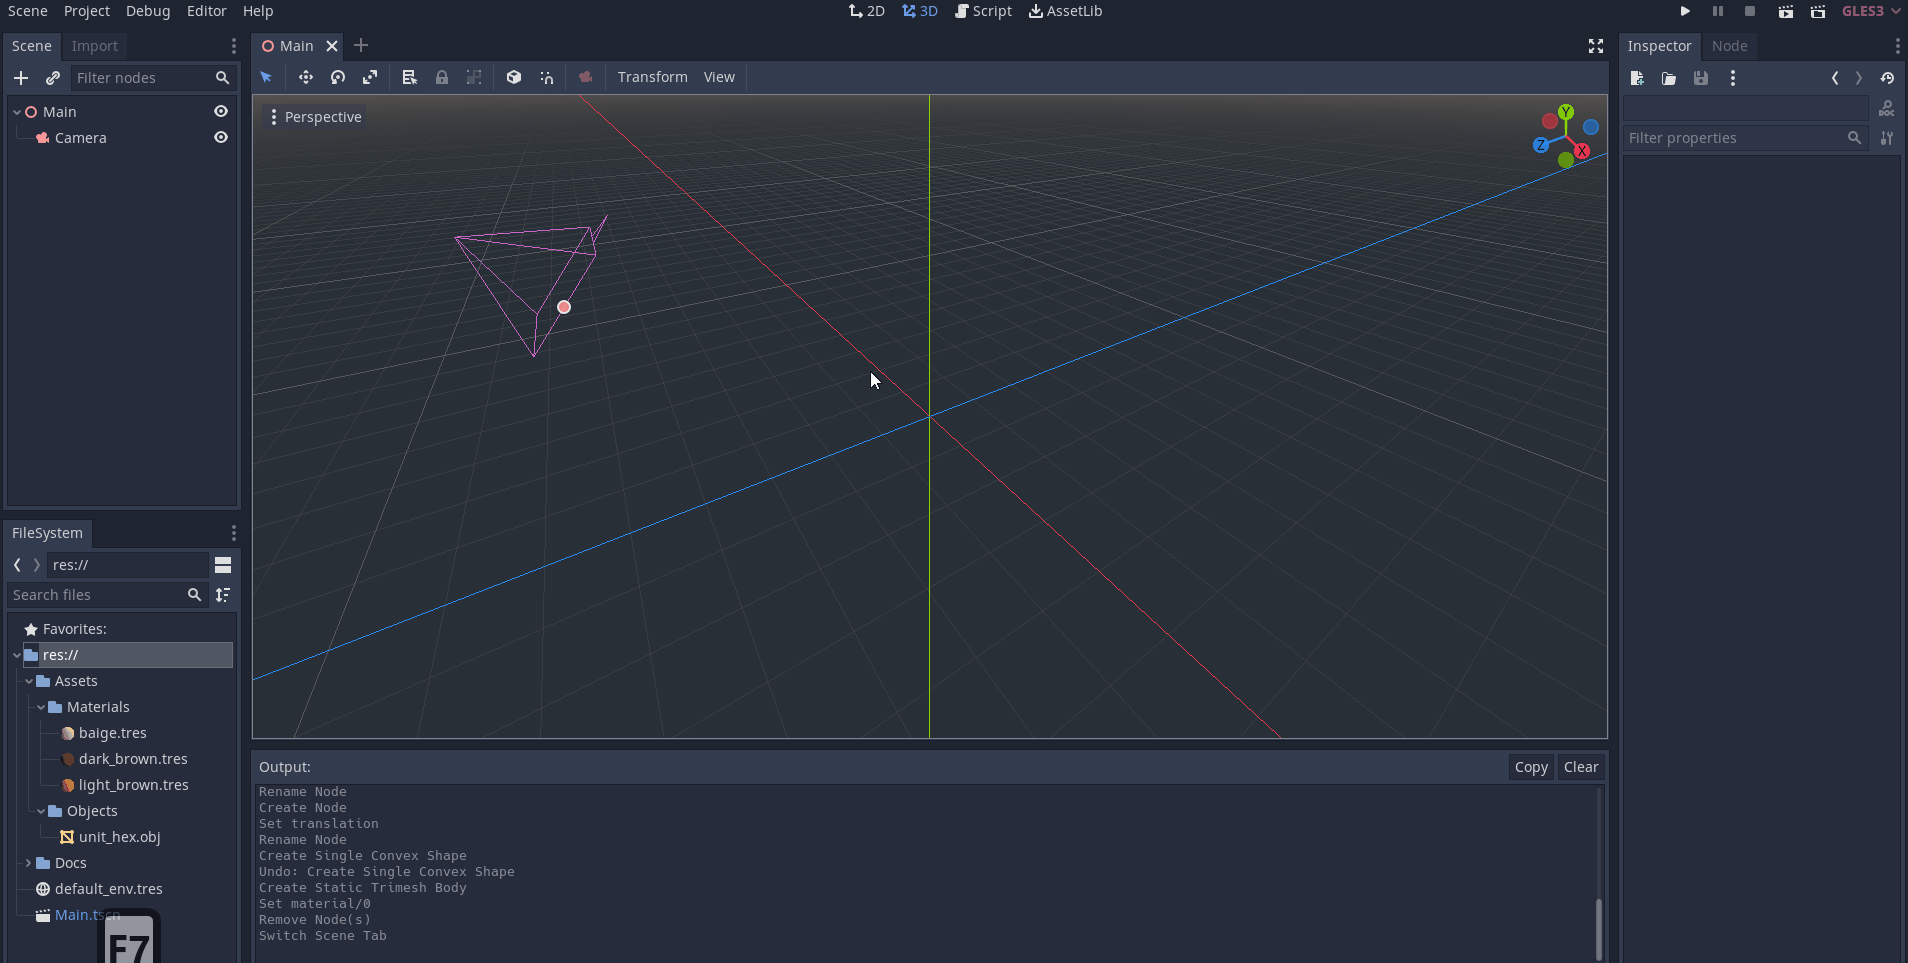
Step 4 - The GridMap
We now create the main piece of our puzzle, the GridMap.

You will see me typing in some numbers for the cell_size. I will go more into details about those numbers when explaining the code. All you have to know now is this specific 3D object (now Hex Mesh) that we are using, we have to put in those values for it to perfectly fit between its brothers and sisters.
Step 5 - Adding The Script
Now you just copy-paste the script, and that’s it… project done. Now you can add Godot game developer in your CV.
Or… if you really want you can also follow the next chapters in order to understand how the code works.
Understanding the code
The first draft For the first iteration of the code, all we want to be able to do is to create a rectangle given the number of rows and columns.
So let’s define the variables that we need…
extends GridMap

# for now we hardcode the height of the 3D mesh
const TILE_HEIGHT := 1

# one mesh, one color
var num_colors := 1

# we expose the number of rows and columns
export var hex_rows := 7
export var hex_cols := 5
We will now use Godot’s _ready() function to update the values of cell_size dynamically.
func _ready():
	# in 3D the z component corresponds to the height of the mesh
	cell_size.z = TILE_HEIGHT / 2.0

	# we use the cosine function to find half of the hexagon width
	# and stepify to round the result
	cell_size.x = stepify(TILE_HEIGHT * cos(deg2rad(30)), 0.01)
	_generate_square_grid()
I’ll try not to deviate too much and go into the math and why we use the cosine function here. But if you’re curios (which is something admirable) you can look at this explanatory YouTube video.
Now let’s actually generate the square map…
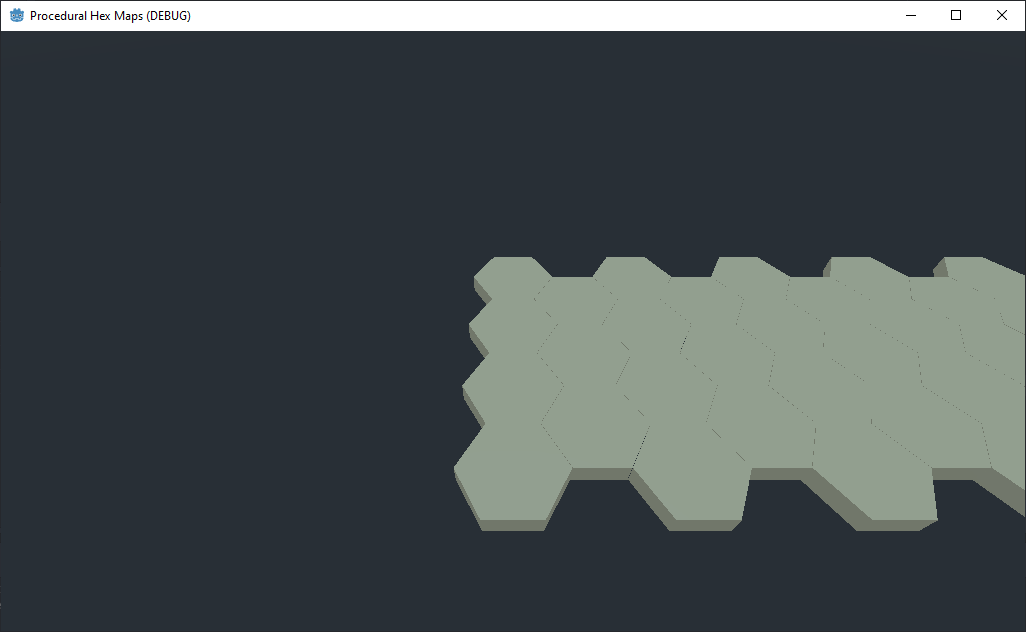
func _generate_square_grid():
	for y in range(hex_rows):
		for x in range(hex_cols):
		# we shift the cell twice horizontally and once more if the row is even
		x = x * 2 + y % 2

		# we set the cell of the grid at the position (x, 0, y)
		# with value 0 (our first mesh)
		set_cell_item(x, 0, y, 0)
In the end, you should have a result similar to the one in the image below.
Centering map - Experimentation
So a first approach to centering may be to move all cells to the right by half the width of the rectangle.
So let’s implement it and see if it works…
func _generate_square_grid():
	# the shift should be equal to half of the length of the rectangle
	# we don't divide by 2 because for every cell we need to multiply cell_size.x by 2
	var x_shift = hex_cols * cell_size.x

	for y in range(hex_rows):
		for x in range(hex_cols):
		# we now shift each element to the left
		x = x * 2 + y % 2 - x_shift
		set_cell_item(x, 0, y, 0)
Well that doesn’t look quite right. Let’s try printing out the x position of each cells in a row to see what’s wrong.
# This logic is for a rectangle with 5 columns
X_shift is: 4.35

X is: 0 X-X_shift is: -4.35
X is: 1 X-X_shift is: -2.35
X is: 2 X-X_shift is: -0.35
X is: 3 X-X_shift is: 1.65
X is: 4 X-X_shift is: 3.65
It seems like the pattern may be something like even numbers from -4 to 4 with a 0.35 shift. But something breaks when we subtract the shift from 3.
⚔️ What do you say about a small competition?
Try thinking of a way to solve the problem and after you come up with a solution, you can compare your solution with mine.
I’ll add some empty space for you not to get any spoilers.

Centering map - My solution So ideally what we want is to replace our range from [0 to hex_cols] to something like [-hex_cols/2 to hex_cols/2].
Unfortunately at the time of me writing this blogpost Godot does not support negative ranges, so the only solution is to create our own range.
func _get_zero_centered_range(n: int):
	var array = []
	var shift = (n-1) / 2.0

	# if n is equal to 0 we just have a centered element
	if not shift:
		return [shift]
		# else we create the normalized range
		for x in range(n):
			array.append((x - shift)/shift)
	return array
We then just have to integrate the zero centered range in our previous code.
func _generate_square_grid():
	var x_shift = hex_cols * cell_size.x
	for y in range(hex_rows):
	# we create a variable to store our custom range
	var zc_range = _get_zero_centered_range(hex_cols)
	for x in zc_range:
		# we shift the elements with half the rectangle width
		x = x * x_shift + y % 2 set_cell_item(x, 0, y, 0)
Now what the map will look like would be something like this.

Yup… that looks a bit better but it seems like something is still out of place.
Removing extra cells
It seems that on even rows the rectangle is a little bit longer. Nothing a few if statements can’t solve.
func _generate_square_grid():
	var x_shift = hex_cols * cell_size.x
	for y in range(hex_rows):
		var zc_range = _get_zero_centered_range(hex_cols)
		# if the row is even, we remove the last cell from the range
		if y % 2:
			zc_range.pop_back()
		for x in zc_range:
			x = x * x_shift + y % 2
			set_cell_item(x, 0, y, y % num_colors)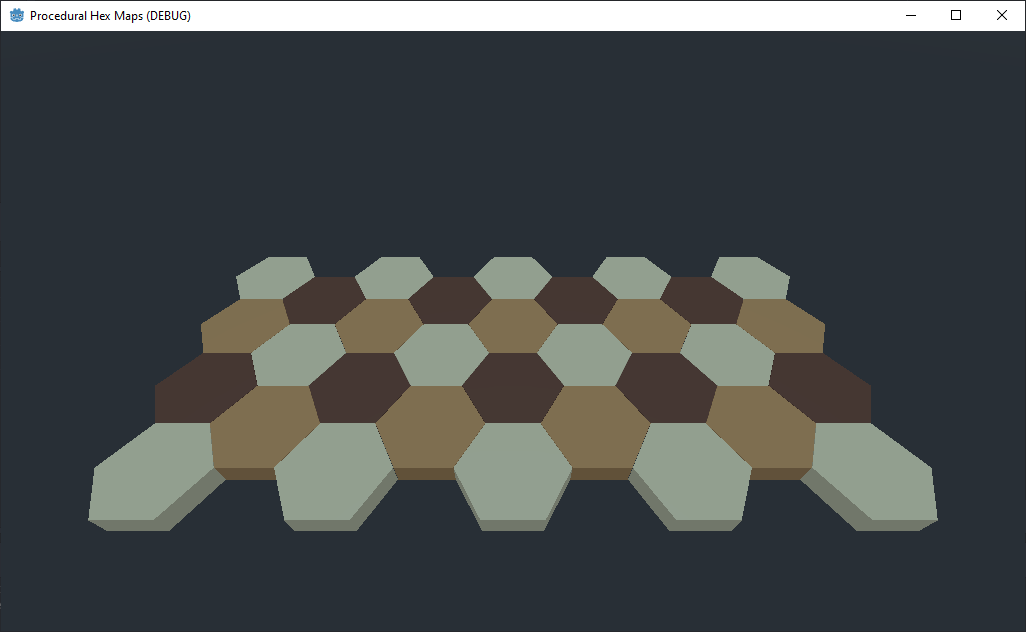
That looks mutch better, but how did we get those new colors?
Must have been a bug, who knows…
Future investigations
Generating hexagonal maps should also be something to look into.

The starter code should be enough for you to wrap your head around how to generate the hex map, but if you struggle with it you can ping me in the comments and I’ll create a tutorial for it.
👉Get the latest version of the code here
Conclusions
In today’s post we looked over:
how to create a scene and mesh library how to use grid map together with the mesh library how to procedurally populate the map with hexagon meshes If there are any questions leave them in the comments and I’ll try to answer them as soon as I can.
Hope you enjoyed the blogpost :)
Peace 🐐
References
Jmbiv - 3D Hexcell Square Map - YouTube link
Gingerageous Games - 2D Squarecell Hex Map - YouTube link
Brian McLogan - Find missing length using cosine function - YouTube link