Intro
When you install VSCode on MacOS you won’t get the “Open Folder with” option. Instead, you’ll need to create a automation where you add the functionality yourself to MacOS.
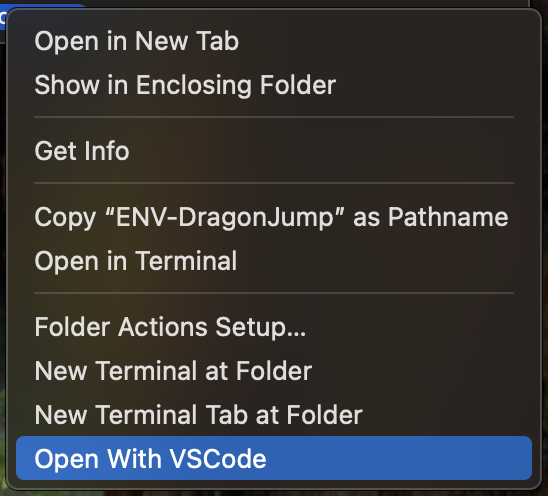
There’s also this short video on YouTube showing the process.
Step 1 - Open the Automator App
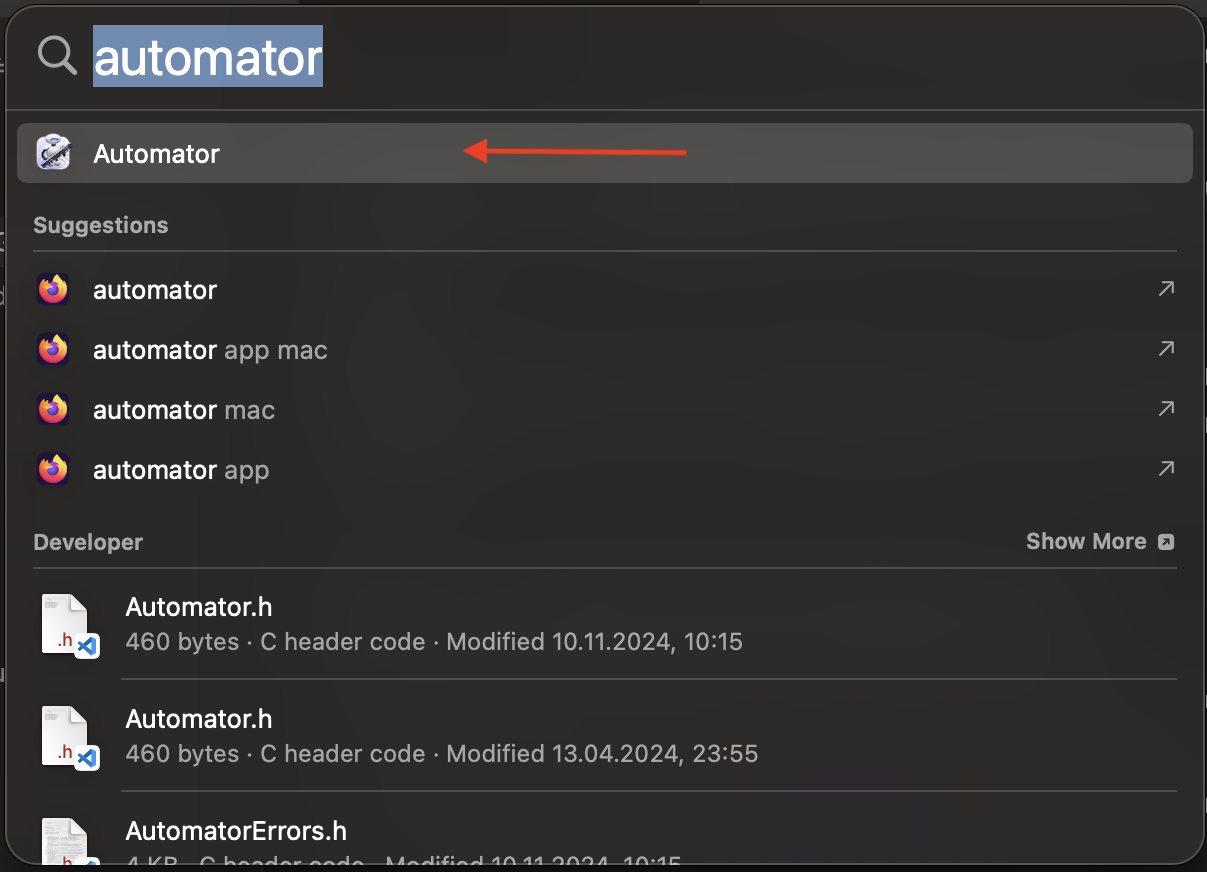
Press ⌘ + Space (Command Key + Space Key) and type in automator. Then open the Automator app.
Step 2 - Create a Quick Action
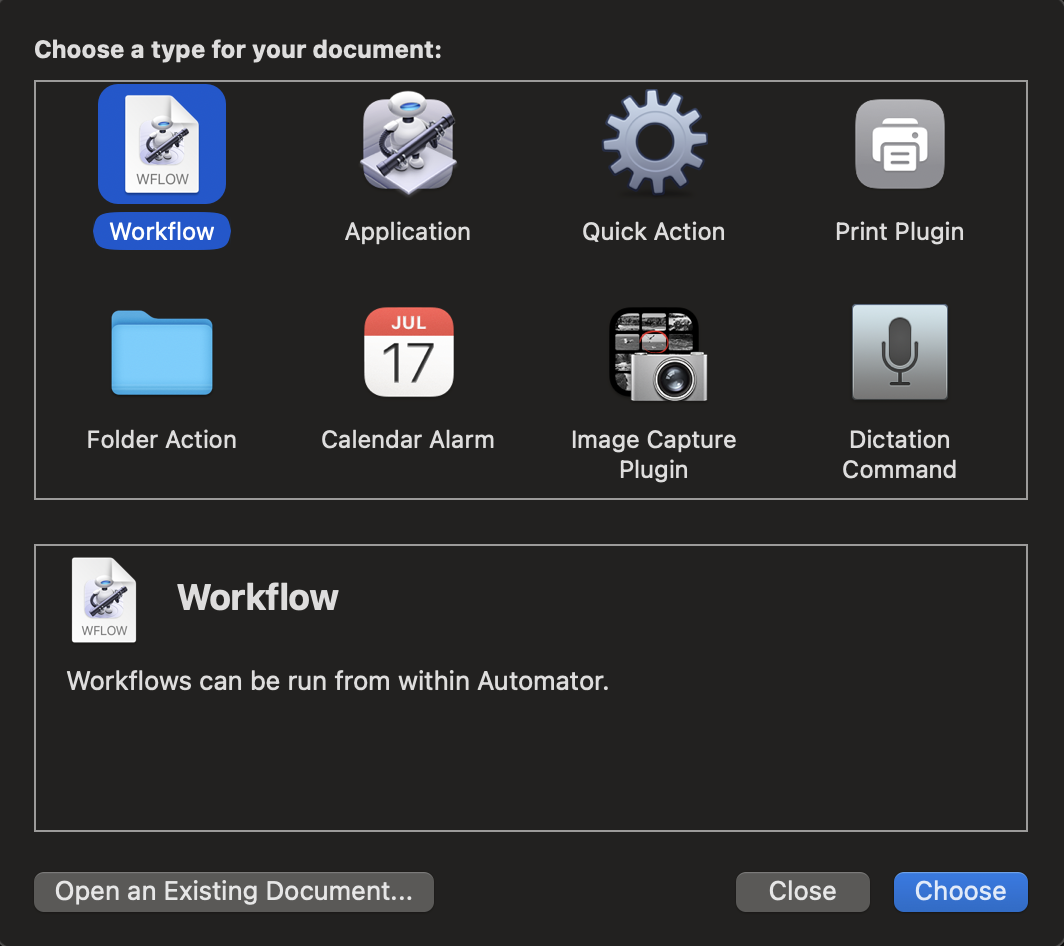 Once the Automator app has opened select Quick Action.
Step 3 - Search and Select Action Type
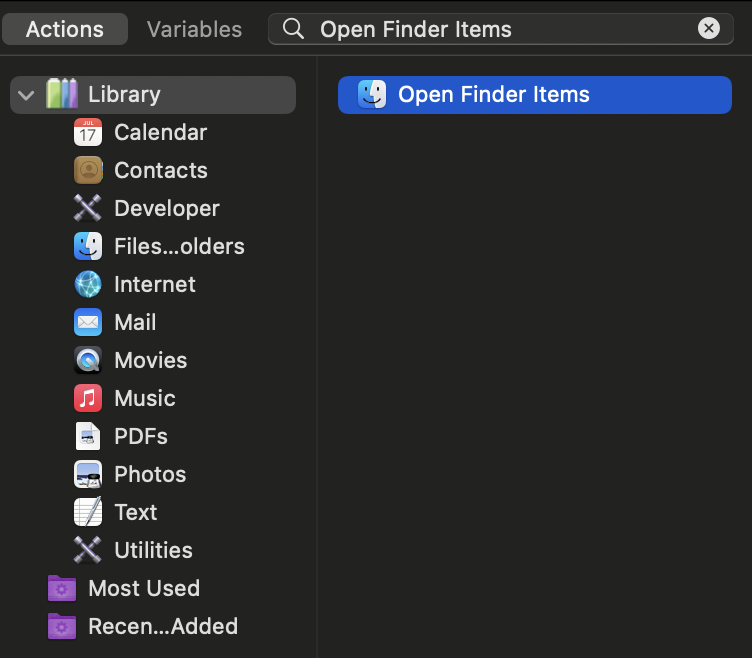 In the Actions Search Window look for Open Finder Items then double click it to select.
Step 4 - Change the Default Application
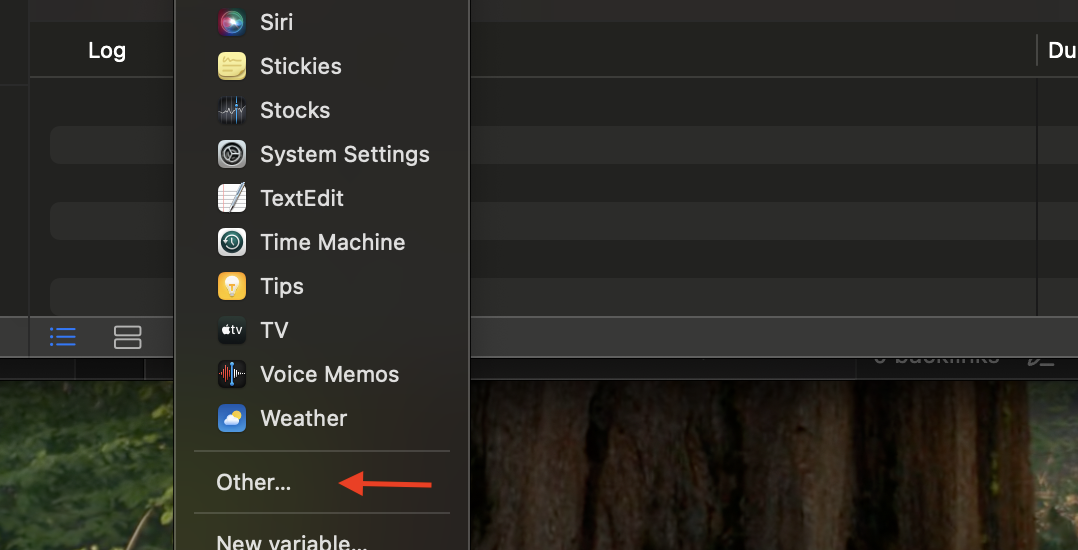 In the righthand side, where the window just got updated, beneath Open Finder Items change the Open with: Default Application by replacing the Default Application with Visual Studio Code.
Observation
If VSCode does not appear in the list you’ll need to:
- scroll to the bottom of the list
- press Other…
- scroll again to the bottom of the Applications list
- select Visual Studio Code
Step 5 - Save Automation
Once you’ve completed Step 4 you can now save your automation by pressing ⌘ + S (Command Key + S Key). The name that you’ll give to your Automation will be the name that appears when you’ll right-click a folder.